How to Change the Front Differential Fluid on my Can-Am ATV?

Changing the front differential fluid on your Can-Am Outlander ATV is easier than you think. It’s an essential part of the ownership process that will keep your ride running strong for years to come. The best part is that it only takes about 30 minutes and can be done with tools you probably already own. 

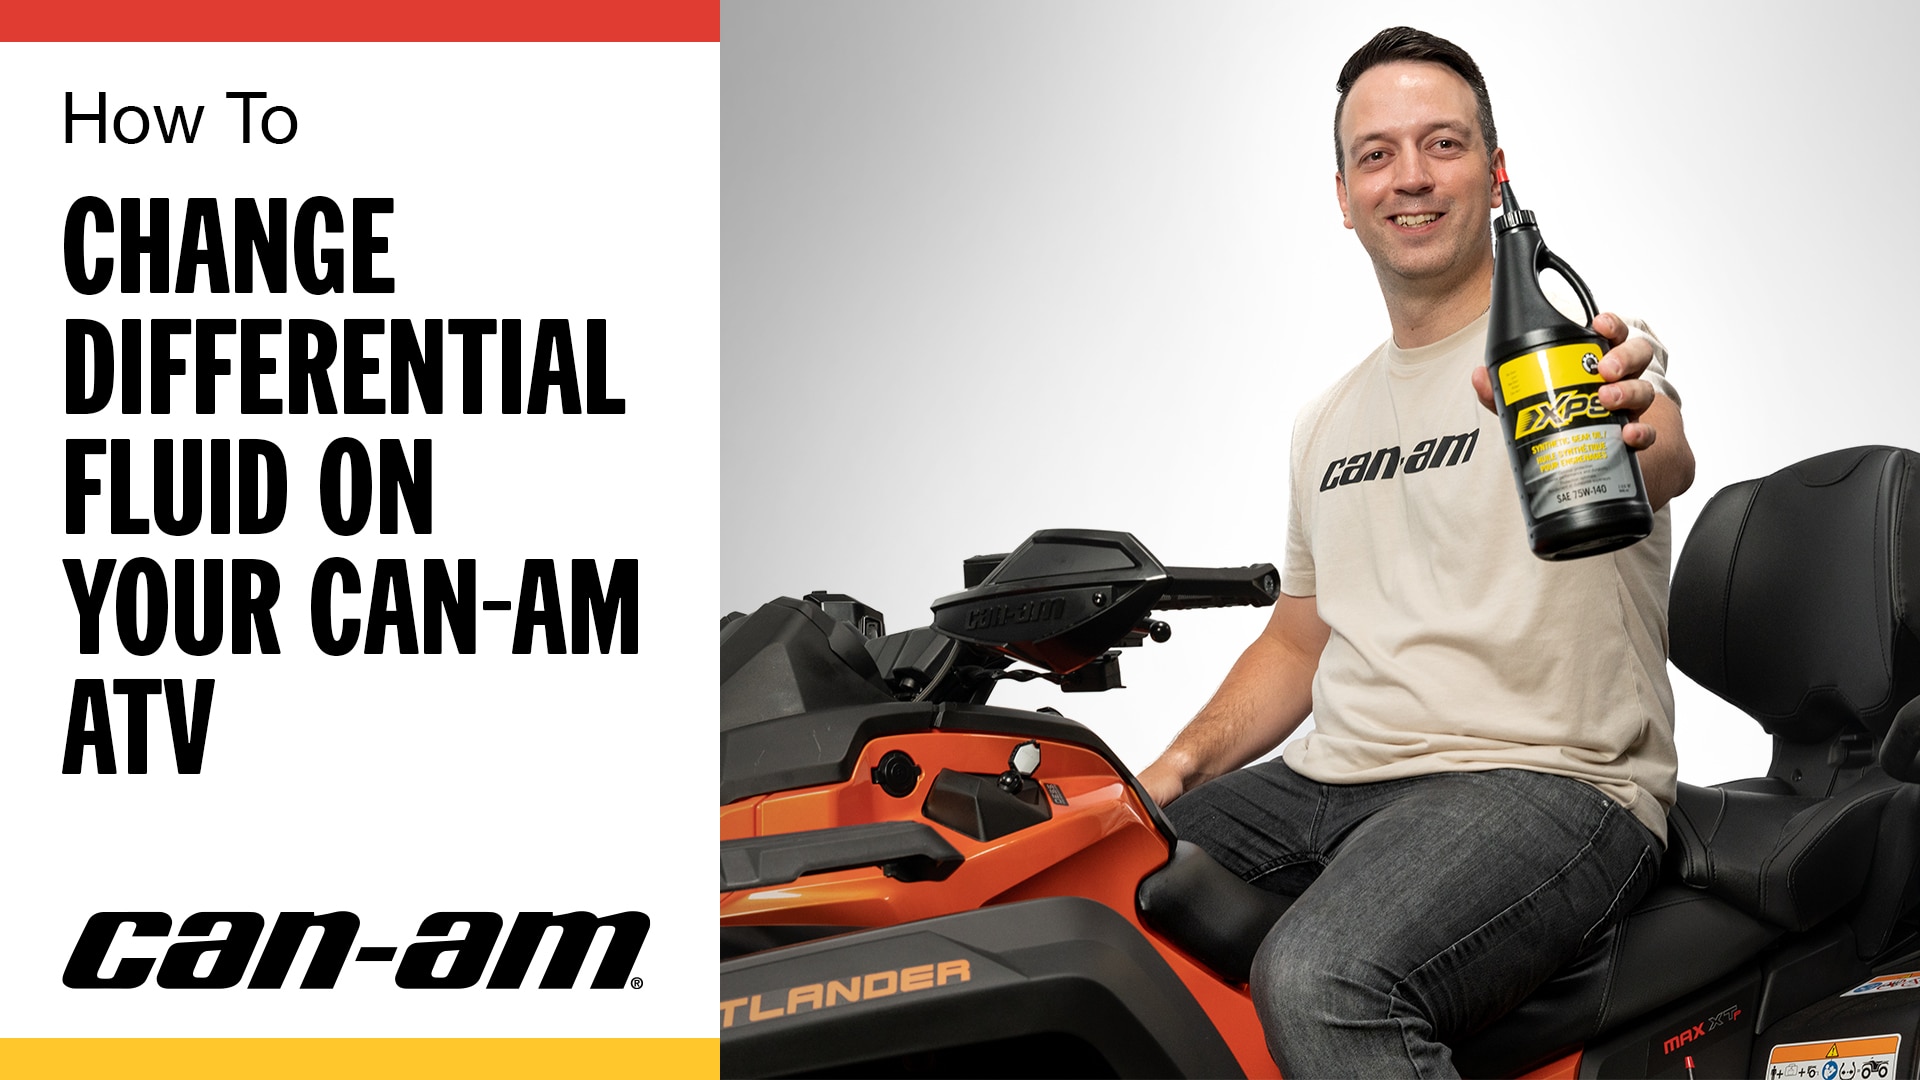
The recommended service interval for front differential oil change on your Can-Am ATV is every 4,000 miles or 200 hours in normal driving conditions. If you’re riding in a lot of mud and dust or heavy-duty conditions, then you’re going to want to do it more often — around every 2,000 miles or 100 hours, whichever comes first.

Here are the tools you’ll need to get the job done:

- Wrench
- Funnel
- Drain pan
- Floor jack
- Rag or towels
Synthetic gear oil, such as XPS 75W140 Synthetic Gear Oil

STEPS:

1. Start by parking your vehicle on a level surface and setting the parking brake.

2. Locate the fill and drain plugs on the right side of your vehicle.  -  The drain plug is at the bottom under the differential. Give both areas a good wipe with a clean rag.

CAN-AM TIP: Accessing the differential drain and fill plugs can be a tight squeeze. Turning the wheels to the right gives you a little more clearance to work.

3. Loosen the top fill plug. Why start with the fill plug? You want to make sure you can loosen the fill plug before pulling the drain plug. If you can’t remove the fill plug, you’ll have no way of adding fresh oil to the differential once the old oil is drained. 

4. Once you confirm the fill plug is good to go, place your drain pan below the drain hole and remove the drain plug.

5. As the old oil drains, remove the fill plug completely. This will speed the draining process along and help all the old oil drain completely.

6. With all the old oil drained, reinstall the drain plug (start by hand to ensure you don’t cross-thread it). Then tighten to spec: 2.5 ± 0.5 Nm (24 ± 4 lbf-in).

7. Using your funnel, add fresh XPS 75W140 synthetic gear oil, like the one from XPS. Check the technical specifications in your operator’s manual for the exact amount to add.

8. With the fresh oil filled, reinstall the fill plug — again, start by hand to not cross-thread. Then tighten to spec: 16.5 ± 2.5 Nm (146 ± 22 lbf-in).

9. Discard the old oil responsibly. If you’re unsure where to do this, contact your local municipality.


Be sure to check all plugs for leaks. If everything looks clean, you are free to roam again and head out for a new adventure! Check out the Can-Am Off-Road Owner’s Zone for more helpful tips on how to maintain your Can-Am ORV.

JOIN THE EMAILS

BE THE FIRST TO KNOW ABOUT THE LATEST ARTICLES, NEWS AND EPISODES.

YOU MAY ALSO LIKE

  • How-to
    How to adjust ATV shocks on my Can-Am vehicle?

    How to adjust ATV shocks on my Can-Am vehicle?


    Learn More
  • How-to
    How to charge a ATV & Side-by-Side battery on my Can-Am vehicle?

    How to charge a ATV & Side-by-Side battery on my Can-Am vehicle?


    Learn More
  • How-to
    How to flush out & change my Can-Am Side-by-Side differential fluid?

    How to flush out & change my Can-Am Side-by-Side differential fluid?


    Learn More