How to use the BRP GO! app
Ready to go further with the ultimate connected riding experience?
The BRP GO! app is a one-stop source that will do much more than take you from point A to point B. With the BRP GO! app, you can download maps, plan routes, share itineraries with your friends, see official trails, see statistics and much more. Plus, you can use it directly on the new 10.25" touchscreen display available on some Can-Am models. Discover the key features of the BRP GO! app and prepare for all the steps of your ride with this article: before, during and after your adventure.
The BRP GO! app enhances the navigation experience on Can‑Am Off‑Road touchscreen displays.
- If your vehicle is equipped with the 10.25″ Wireless Touch Display (2027 Defender HD11 only), read this article to learn how to get the most out of everything the app has to offer
- If your vehicle is equipped with the 10.25″ Touch Display, continue reading to discover advanced navigation features that support you before, during, and after every adventure.
Before your ride
Before taking a ride on your Can-Am SxS or ATV, follow the steps below in the app to maximize your experience when you’re out on the trails or in the desert.
Download areas for offline riding
Sometimes the off-road takes us to surprising places and not all of them have reliable internet connection. So, it is ideal to download the area of the map you intend to explore before leaving your garage to enjoy the most of your BRP GO! app.
If the area has been downloaded in advance, most of the navigation features will be available even if you lose the signal. The two exceptions are the locate your friends on the map or the save a custom location features, which require a mobile network connection at all times.
Note:
- To download an area, you must have an Internet connection.
- You can only download an area in the default layer (Standard).
From the NAVIGATION tab:
1- Press the MAP DETAILS icon on the top right (below the search bar) & ensure the OFF-ROAD playground is selected
2- Scroll down and select MANAGE DOWNLOADS
3- Select ADD AREA
4- Zoom and/or pan the map to select your area. The app will estimate and display the area's download size
5- Press DOWNLOAD
You can rename or delete your offline area by repeating steps 1 and 2, selecting the area, and then tapping the pencil icon (top right) or DELETE AREA.

Plan your routes
Plan your trail or off-trail adventures effortlessly using our app. Create itineraries to enjoy turn-by-turn navigation on official ORV trails and distance updates to your destination and next stop. You can also customize your journey by adding official or custom points of interest.
For off-trail excursions, you can manually add waypoints on the map so the itinerary will dynamically form with dotted lines indicating off-trail segments. Make sure you are being a responsible rider by staying on official playgrounds or owned land. Explore our Responsible Rider program for conservation tips.
There are many ways to create an itinerary.
Main way
In the NAVIGATION tab
1. Press the RIDES icon on the top left (below the search bar)
2. Select CREATE ITINERARY
3. Drag the marker on the map to your desired starting point
- You can tap the Search icon to choose from an official POI or a custom POI
4. Press START HERE
5. Select +STEP to add another waypoint to the itinerary
- You can tap the Search icon to choose from an official POI or a custom POI
6. Press ADD TO ITINERARY
7. Repeat steps 5 & 6 above until your desired itinerary is created
8. Select NEXT
9. Scroll down a bit to reveal:
- Admissible vehicles
- Terrain type
10. Tap the 3 dots on the top right if you'd like to rename the itinerary, share it, add it to a group, or duplicate it
11. Press START to begin following the itinerary with turn-by-turn directions on official ORV trails and distance indicators or select the arrow on the top left to save the itinerary for later
Alternative way - From a POI
In the NAVIGATION tab
1. Select a POI on the map or create a custom POI (long press on the screen)
2. Tap SET AS START*
3. Follow steps 5 to 11 from the Main way above
*To simply head straight to this point from your current location, press LET'S RIDE then follow steps 9 to 11 from the Main way above
Alternative way - From search
In the NAVIGATION tab
1. Press the search bar on top of the screen
2. Choose from an official or a custom POI
3. Tap SET AS START*
4. Follow steps 5 to 11 from the Main way above
*To simply head straight to this point from your current location, press LET'S RIDE then follow steps 9 to 11 from the Main way above
Create and save custom locations
Create and save custom locations in your BRP GO! account, such as your home, a friend’s place or a scenic location. Your saved locations will be displayed on the map with a star icon and can easily be found by using the search bar. If you’re midway through your ride and want to return to your friend’s place, all you need to do is choose your custom location and a route to reach your destination will appear.
1. Go to the NAVIGATION tab
2. Ensure the OFF-ROAD playground is selected
3. Long press on the screen where you want to add the Point of Interest (POI)
4. Tap SAVE PLACE
5. A pop-up will appear to name the POI
6. Tap SAVE PLACE

Track your friends’ location
The off-road is more fun when you have your crew around. To connect with friends during a ride, you need to 1) add them as friends in the app and 2) invite them to join your group.
The “locate friends on the map” feature works only when you’re connected to a cellular network. If one of your friends loses connection, their icon will turn grey and remain at their last recorded location. Their position will be updated once they regain connection to a cellular network.
1. Go to the GROUPS tab
2. Press + ADD FRIENDS
3. Send the generated link to your friend
4. If your friend doesn’t have BRP GO!, they will receive a notification inviting them to download the app. The invitation will be received after they download the app.
5. If they have BRP GO!, they will receive a notification
6. You might have to pull to refresh to see them in your list
Adding your friends to a group allows you to share created itineraries to all members at once and see their location on the map while you're riding*.
Create a group
1. Go to the GROUPS tab & select Groups at the top of the page
2. Press + CREATE GROUP
3. Tap the rectangle under NAME to name the group
4. Select CREATE GROUP
Add friends
5. Press Add friend
6. Select one or more friends from the list then CONFIRM
Note: You may need to pull down to refresh to see them in the group
7. Ensure all members of the group are connected by tapping CONNECT at the bottom of the screen
*This feature requires an internet connection to work
During your ride
When you're ready to go, be sure to follow the steps below!
Connect your phone to your vehicle
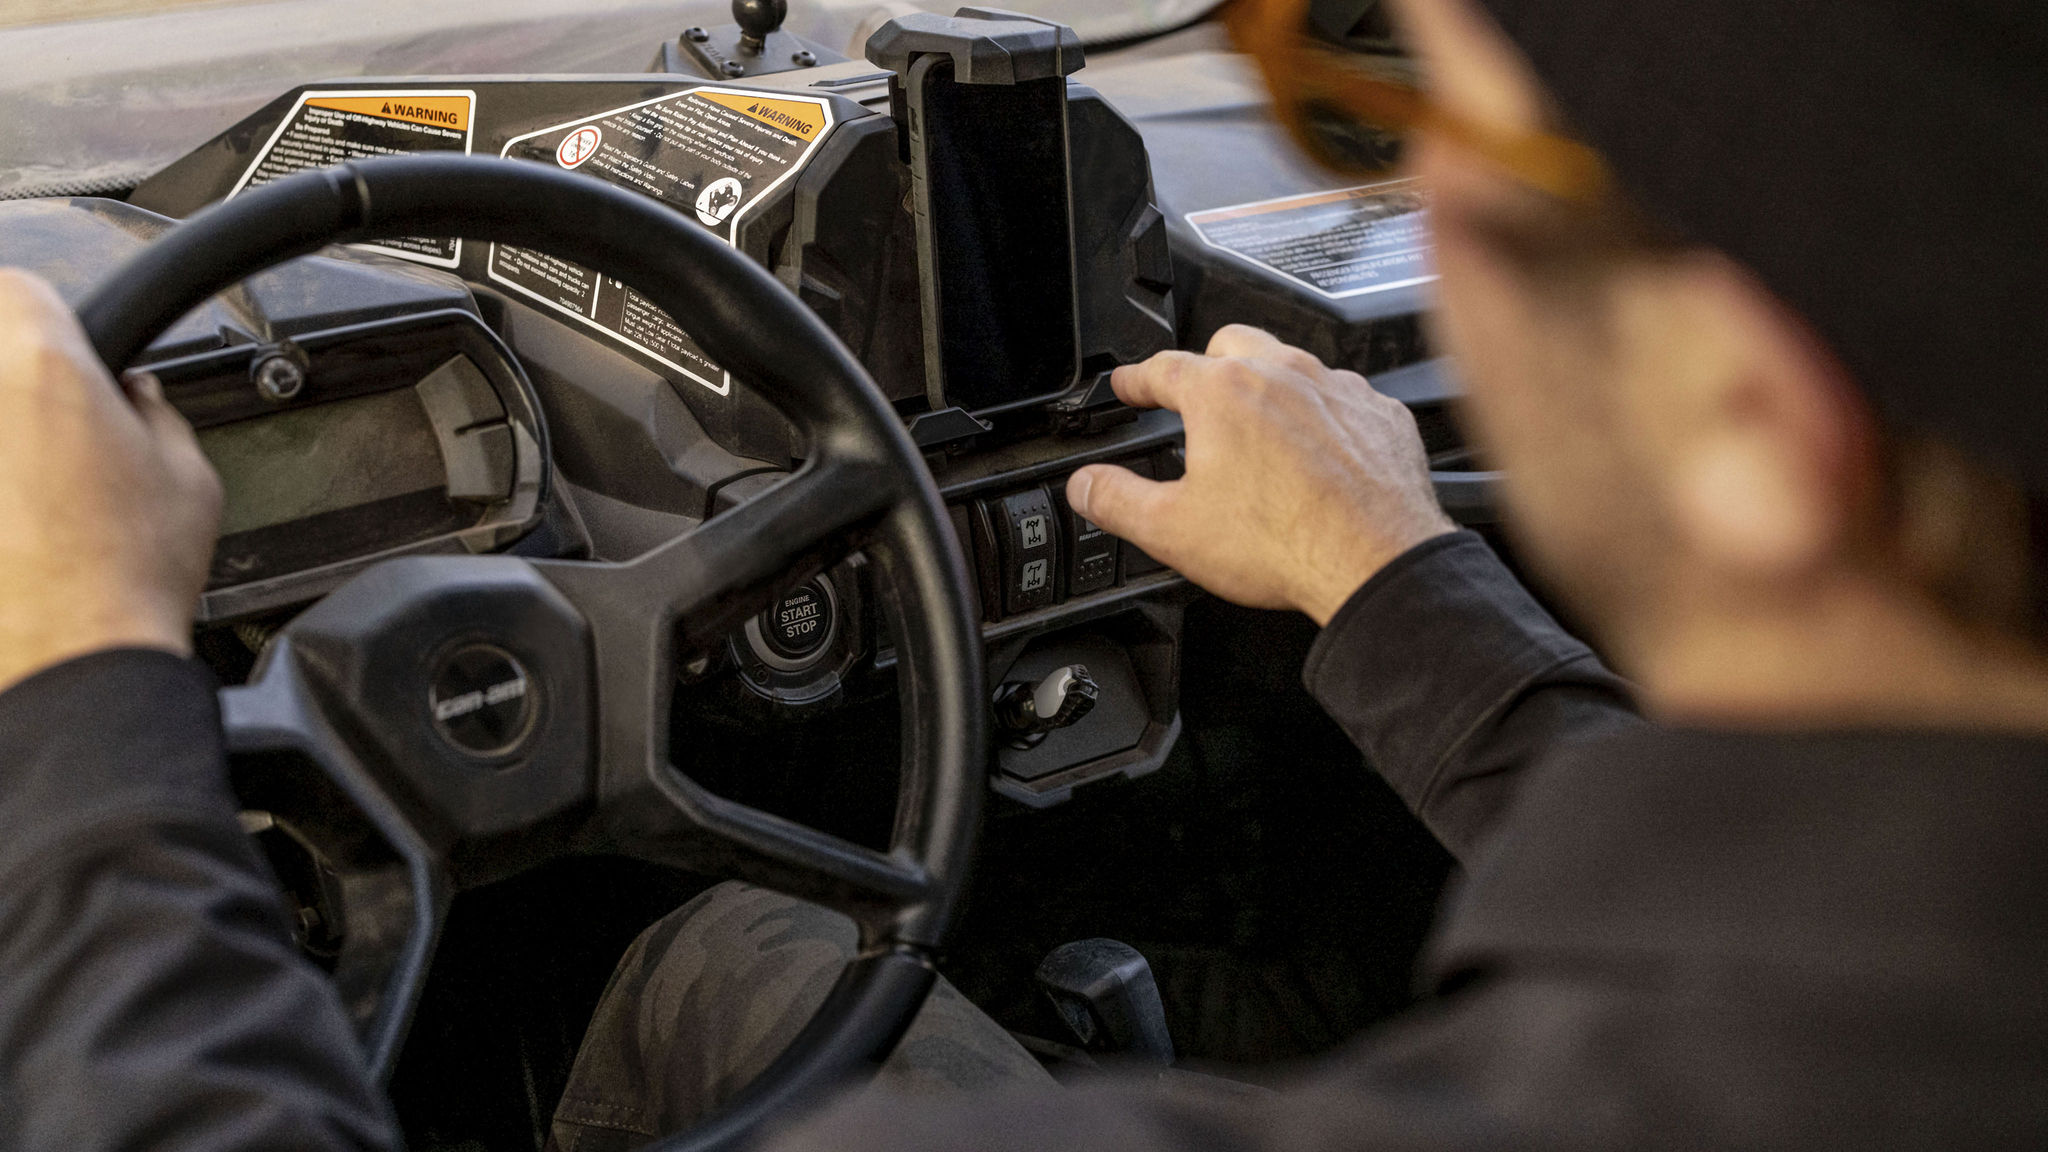
If your vehicle is equipped with the 10.25″ Touch Display, you can connect your phone and use the BRP GO! app directly on it. Navigate seamlessly through the app using the handlebar controls or touchscreen, ensuring a fully integrated and intuitive experience.
If your vehicle isn’t equipped with the 10.25″ Touch Display, you can still use and benefit from all of the BRP GO!’s features by using it on your phone. A good idea to make navigation easier is simply to mount your phone on your vehicle!
1. Download the BRP GO! app.
2. Make sure that your phone is unlocked and that the BRP GO! app is open.
3. Connect your phone to the vehicle via a USB cable (the USB connector is located in the glovebox). Once the connection is successful, a black screen will appear.
4. Open the Navigation applet on your vehicle display.
Please note that with the 10.25″ Touch Display there is no need to pair your phone to the vehicle via Bluetooth to use BRP GO!. Only a USB connection is required.
Start your BRP GO! ride
Ready to go? It’s time to launch your BRP GO! ride on your vehicle display. There are two ways to start a ride in BRP GO!
- Follow a created itinerary
- Begin a recorded ride
2. Select the itinerary you'd like to follow then tap START
1. Tap the RECORD RIDE button at the bottom of the display
2. After pressing the arrow at the bottom left of the display, a summary of your ride statistics and a track of where you went will be saved to your profile (RIDES > Completed)
To connect to a group and share your location:
1- On the Map screen, click the group icon in the lower left corner of the screen
2- Press CONNECT on the desired group (your friends will now be able to see where you are on the map).
3- To disconnect from the group, press the red arrow on the bottom left of the window
Please note that this feature requires cellular network to work properly

Explore map details
Customize your map experience with these options:
- Zoom In/Out: Adjust your screen for optimal visibility.
- Lock North Up: Keep the map fixed in an upward position, similar to a paper map.
- Trail legend: See which types of vehicles are allowed on the trails.
- Map style: Choose between standard, satellite or offline map view.
- 2D or 3D View: Choose between an overhead view (2D) or a street-level perspective (3D).

On mobile: Use your fingers to pinch the screen inward or outward, depending on whether you want to zoom in or out.
On the 10.25" Touch Display: Use the dedicated "+" and "-" buttons to zoom in or out.
While recording a ride or following an itinerary, click on the compass icon at the bottom right of the screen. To deactivate the function, click a second time on the icon.
You can learn more about the types of vehicles allowed on the trails by clicking the Map Details button in the top right corner of the Maps screen. Colors represent vehicle types. Here's what each color means:
- Green: The type of vehicle permitted for this trail is unknown.
- Brown: The trail is ideal for OHM.
- Purple: The trail is ideal for OHV less than 50 inches wide.
- Pink: The trail is ideal for OHV.
- Blue: The trail is ideal for any type of off-road vehicle.
- Red dotted: The trail is unavailable (closed).
On the Maps screen, click the Map Details button at the top right of the screen and activate the Map in 3D View option. If the 3D View Option is deactivated, the map will display a 2D view.
On your phone: The display mode must be changed from your phone’s Settings (Display & Brightness). The app will automatically take the phone’s display mode.
On your vehicle’s display: When your phone (and BRP GO!) is connected to your display, the app will automatically take the vehicle’s display mode. To change your display mode of the 10.25" touch display, go to Applet Menu > Preferences > Display > Appearance
After your ride
Keep the adrenaline flowing even after you stop riding! Explore your riding stats and relive the thrill by redoing those unforgettable paths. The adventure doesn’t stop when the engine does!
Check your riding stats
When you complete your ride, the key riding stats will be saved in the BRP GO! app. Consult them anytime to know the total time and distance of your ride, your average speed and the maximum and minimum altitudes.
When you completed a ride in the app, the riding statistics will be shown on the mobile app. You can view the statistics at any time by going to: "RIDES" section > "Completed" tab > Select the ride you want to view the statistics.
Duplicate past rides
Relive your favorite moments on your Can-Am with the help of the BRP GO! app and have even more fun the second time! Here's how you can do it:
- For rides with an itinerary: You can simply go to your itineraries, select the one you want to repeat, and press START to follow the same route and hit the same waypoints.
- For recorded rides: Duplicate and see the previous path (breadcrumb) on the map in a distinct color, guiding you back to the exact location.