How to Replace ATV Tires: A Complete DIY Guide

Your off-road adventures are only as good as the condition of your ATV’s tires. Tires are your vehicle's critical link to the terrain, affecting handling, stability, and safety. Proper tire care ensures optimal performance and keeps you ready for any off-road challenge. 

In this guide, we’ll walk you through every step of changing your ATV tires, making it easy to maintain your Can-Am vehicle for peak performance on every ride.


Why Changing Quad Tires is Crucial

ATV tires experience wear and tear due to tough off-road conditions. Worn or damaged tires reduce traction, stability, and safety. Regularly inspecting and replacing tires ensures your vehicle performs at its best, whether you're navigating rocky trails, mud, or sandy paths.


Tools and Equipment You’ll Need

Changing ATV tires is easier with the right tools. Gather these essentials before starting:

• Hydraulic Jack: Lifts your ATV off the ground securely.

• Lug Wrench: Loosens and tightens lug nuts.

• Torque Wrench: Ensures lug nuts are tightened to proper specs.

• Bead Breaker Tool: Helps separate the tire from the rim.

• Tire Irons: Aids in mounting and removing the tire.

• Air Compressor: For inflating the new tire to the correct PSI.

• Wheel Chocks: Prevents the ATV from rolling during the process.

 

When to Stop and Contact a Dealer

If at any point you cannot confirm the correct part, access, or procedure for your model, or if something doesn’t match your Operator’s Guide, stop and contact a Can-Am dealer.


Prepare for the Tire Change

Preparation is key to a smooth ATV tire replacement. Follow these steps:

• Ensure safety: Wear gloves and goggles to protect against debris and sharp objects.

• Stabilize the ATV: Use wheel chocks and engage the parking brake to keep the vehicle secure.

• Inspect tires and rims: Look for damage or wear on tires and rims that could impact installation.


Step-by-Step Guide to Changing ATV Tires

Here are the essential steps to changing the tires on your Can-Am ATV.  Just be sure to follow the recommended torque specs in your Operator’s Guide. Let’s get started.

Step 1: Remove the Wheel

• Loosen the lug nuts: While the ATV is on the ground, slightly loosen the lug nuts with a lug wrench.

• Lift the ATV: Position a hydraulic jack under the frame and lift the ATV until the tire is off the ground.

• Remove the wheel: Fully unscrew the lug nuts and carefully remove the wheel from the hub.

Step 2: Break the Bead

The tire bead is the edge that seals the tire to the rim. Breaking it is necessary to remove the old tire:

• Position the bead breaker: Align the tool with the edge of the tire and apply pressure to separate the bead from the rim.

• Use tire lube: Apply lubricant to reduce friction and make the process easier.

Step 3: Install the New Tire

• Clean the rim: Remove debris and check for damage.

• Mount the tire: Place one side of the tire on the rim, then use tire irons to secure the other side.

• Apply lubricant: Ensure smooth installation by applying tire lube around the bead.

Step 4: Inflate the Tire and Seat the Bead

• Inflate the tire: Use an air compressor to inflate the tire to the recommended PSI.

• Seat the bead: The bead will “pop” into place as the tire inflates, creating a secure fit.

Step 5: Reinstall the Wheel on Your ATV

• Align the wheel: Position it back onto the wheel hub.

• Secure the lug nuts: Hand-tighten the lug nuts first, then use a torque wrench to finish the job to the proper specs in a cross/star pattern.

Step 6: Final Safety Checks

Before hitting the trails, perform these checks:

• Inspect the tire: Ensure there are no leaks or uneven spots.

• Check the PSI: Verify the tire is inflated to the recommended pressure.

• Spin the wheel: Rotate the wheel to check for proper alignment.

• Re‑torque: Recheck lug nut torque after the first short ride


Pro Tips for for Better Tire Installation

• Prevent over-tightening: Use a torque wrench to avoid damaging the lug nuts or studs.

• Check for leaks: Apply soapy water around the bead to detect air leaks.

• Regular maintenance: Inspect tires frequently for signs of wear, such as cracks or bald spots.


Maintaining Your ATV Tires

Proper tire maintenance helps preserve traction, handling, and overall safety. Regularly inspecting tire condition and pressure as part of routine maintenance can help extend tire life and keep your ATV ready to ride.


ATV Tire Change FAQs

ATV tires should be replaced based on their condition rather than mileage. Worn tread, cracks, cuts, frequent air loss, or reduced traction are common signs that replacement may be needed. Riding conditions and terrain can also affect tire lifespan.

Yes, ATV tires can be changed at home with the proper tools, workspace, and basic mechanical knowledge. Access and specifications may vary by model, so preparation and careful inspection are important before starting.

Common signs include visible tread wear, cracks or damage in the rubber, frequent pressure loss, or decreased traction while riding. Any of these can affect handling and safety.

Yes. After installing ATV tires, lug nuts should be re-torqued after a short initial ride to ensure the wheel remains properly secured.

In most recreational riding situations, ATV tires do not require balancing. Balancing may be helpful for higher-speed use, longer rides, or if vibration is noticeable.

Read other maintenance articles

  • How-to
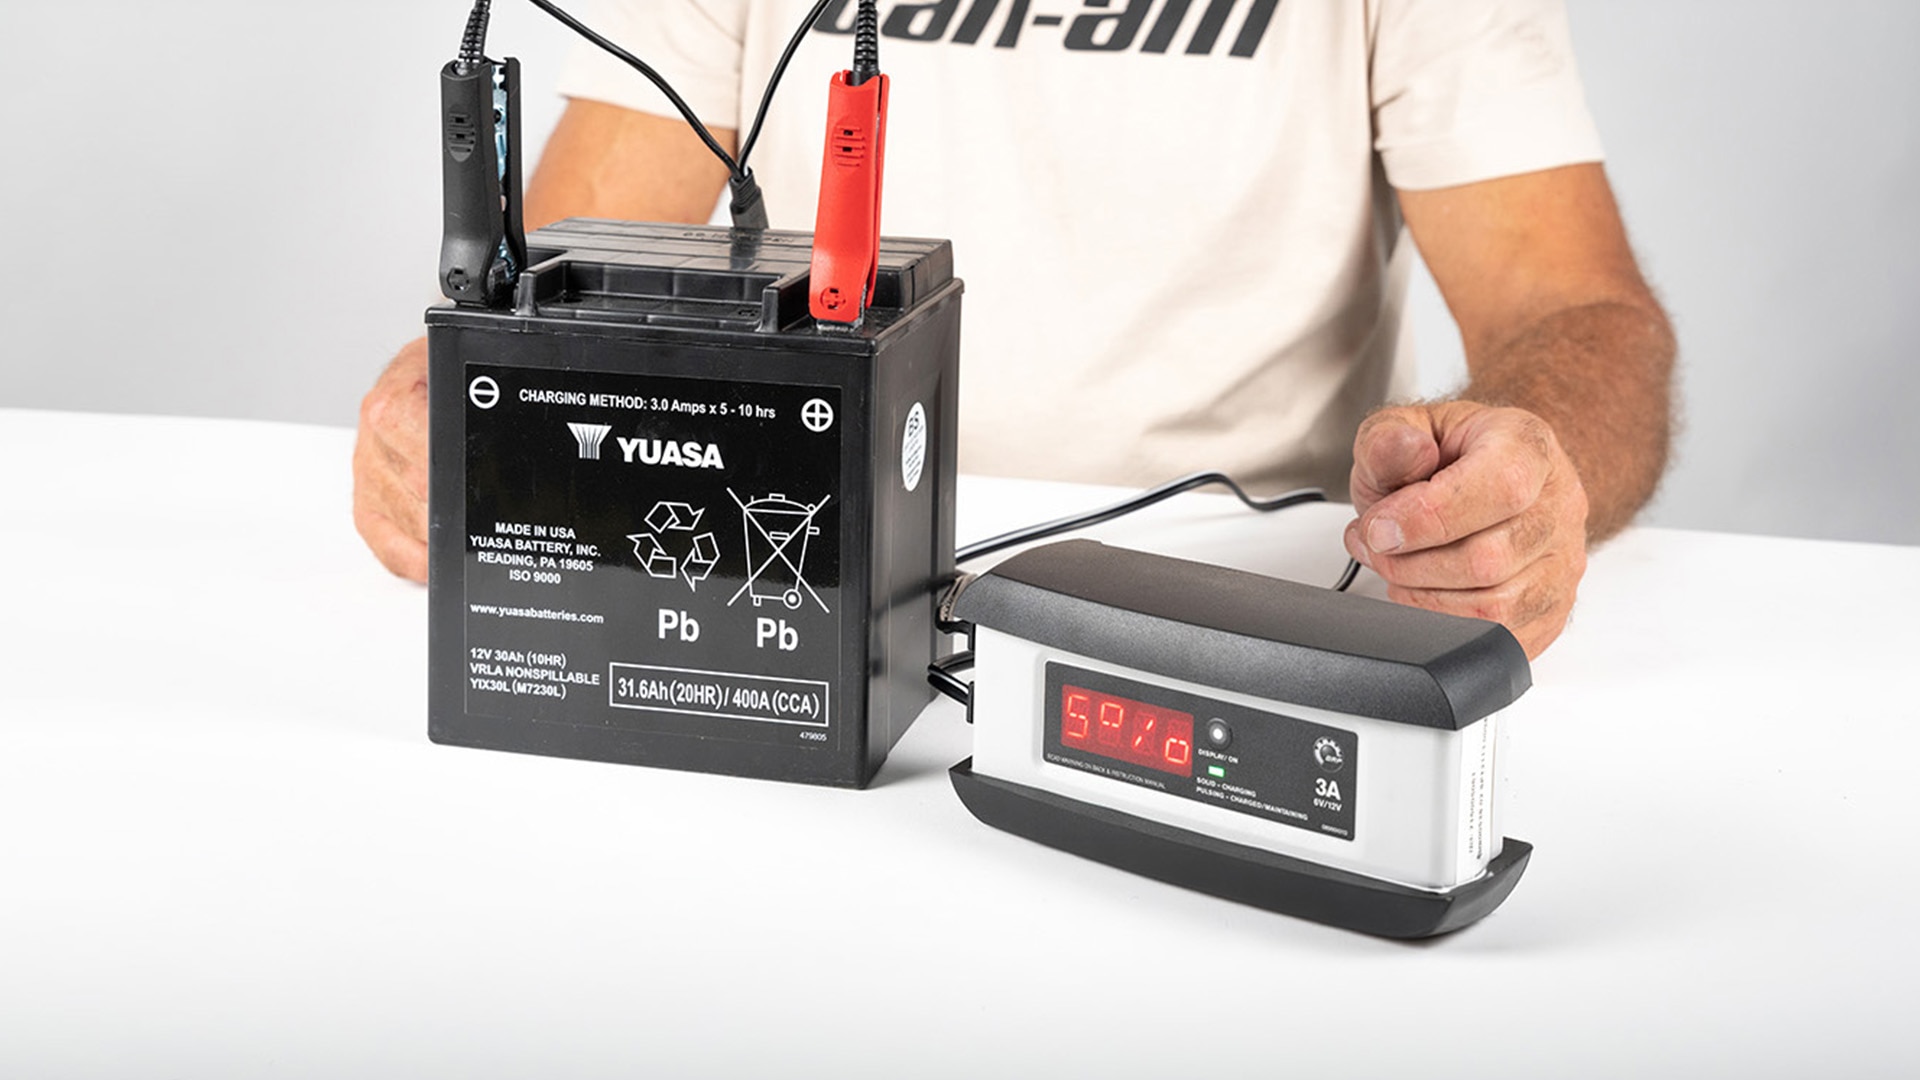
    How to charge a ATV & Side-by-Side battery on my Can-Am vehicle?

    How to charge a ATV & Side-by-Side battery on my Can-Am vehicle?


    Learn More
  • How-to
    How to Choose the Size and Pressure for ATV or SxS tires?

    How to Choose the Size and Pressure for ATV or SxS tires?


    Learn More
  • How-to
    How to Winterize an ATV or SxS for Winter?

    How to Winterize an ATV or SxS for Winter?


    Learn More