BRP GO! On‑Road Navigation: How It Works

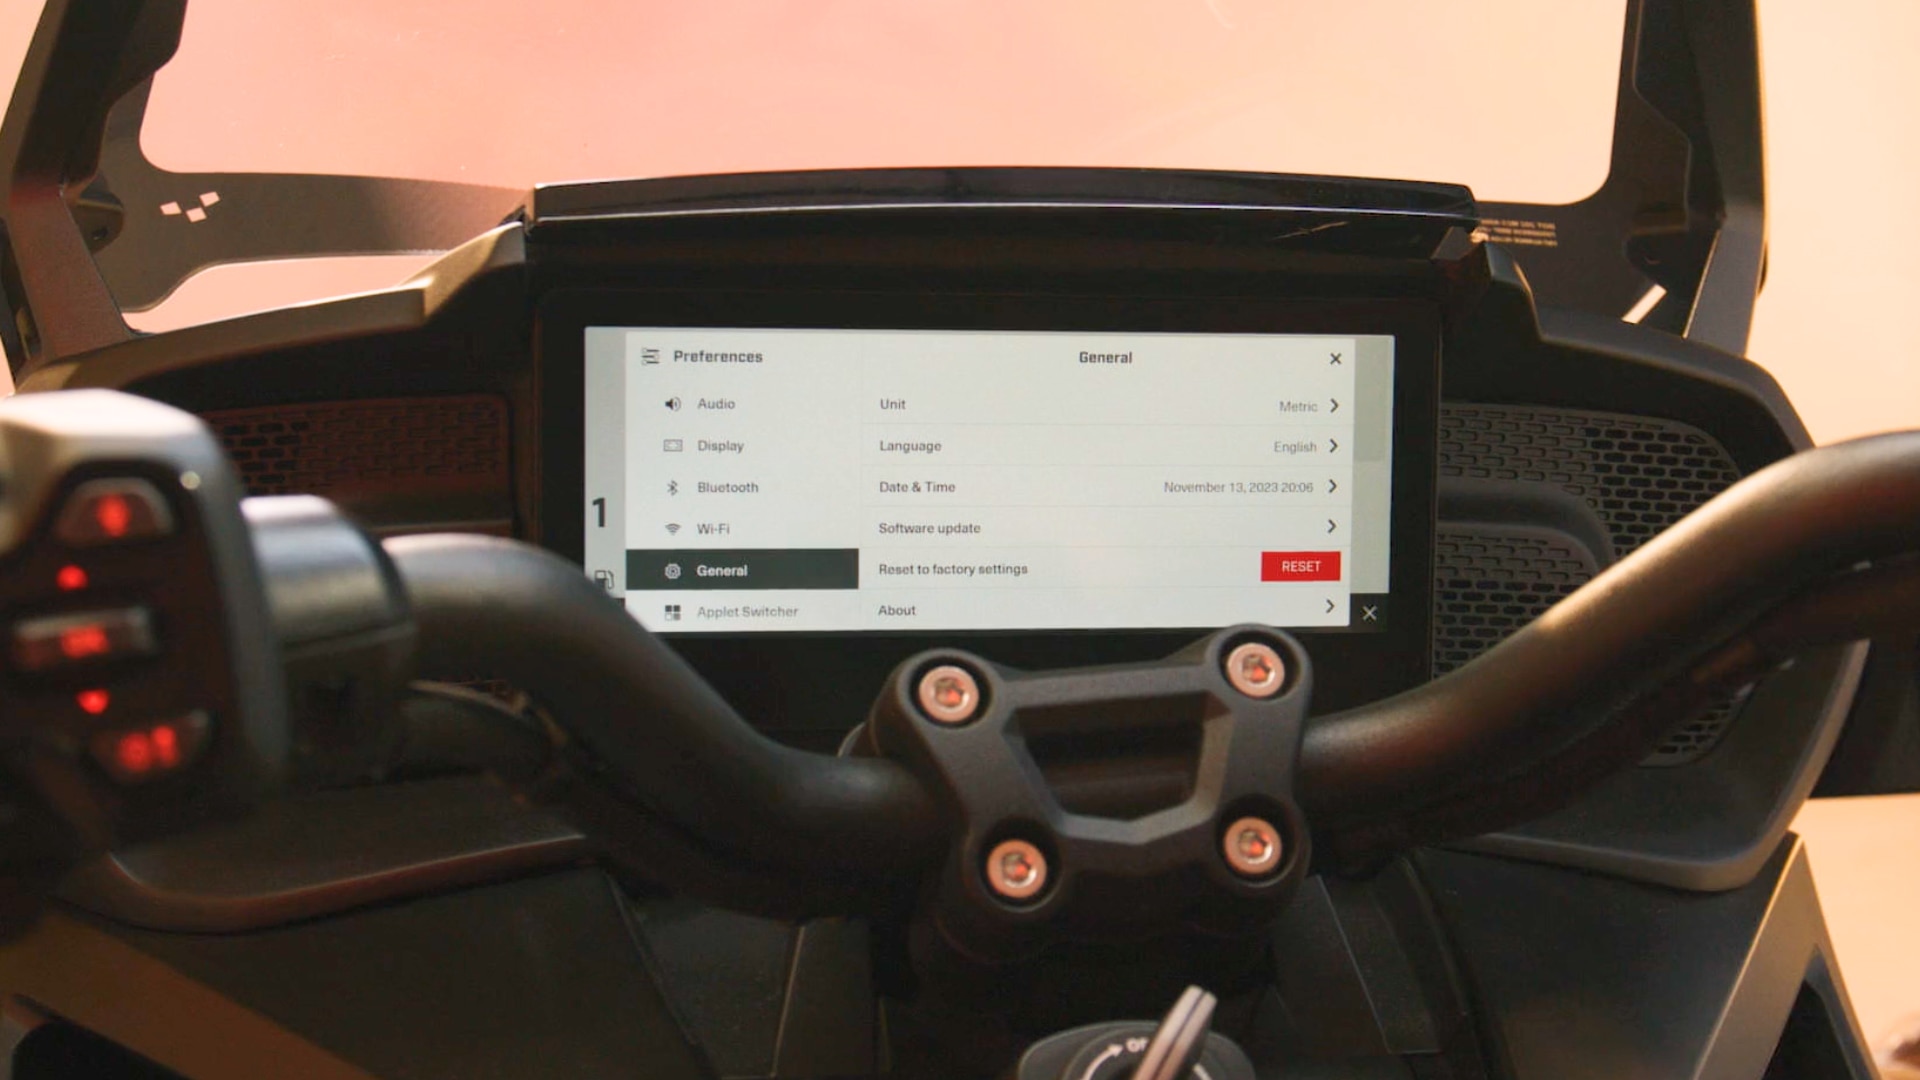
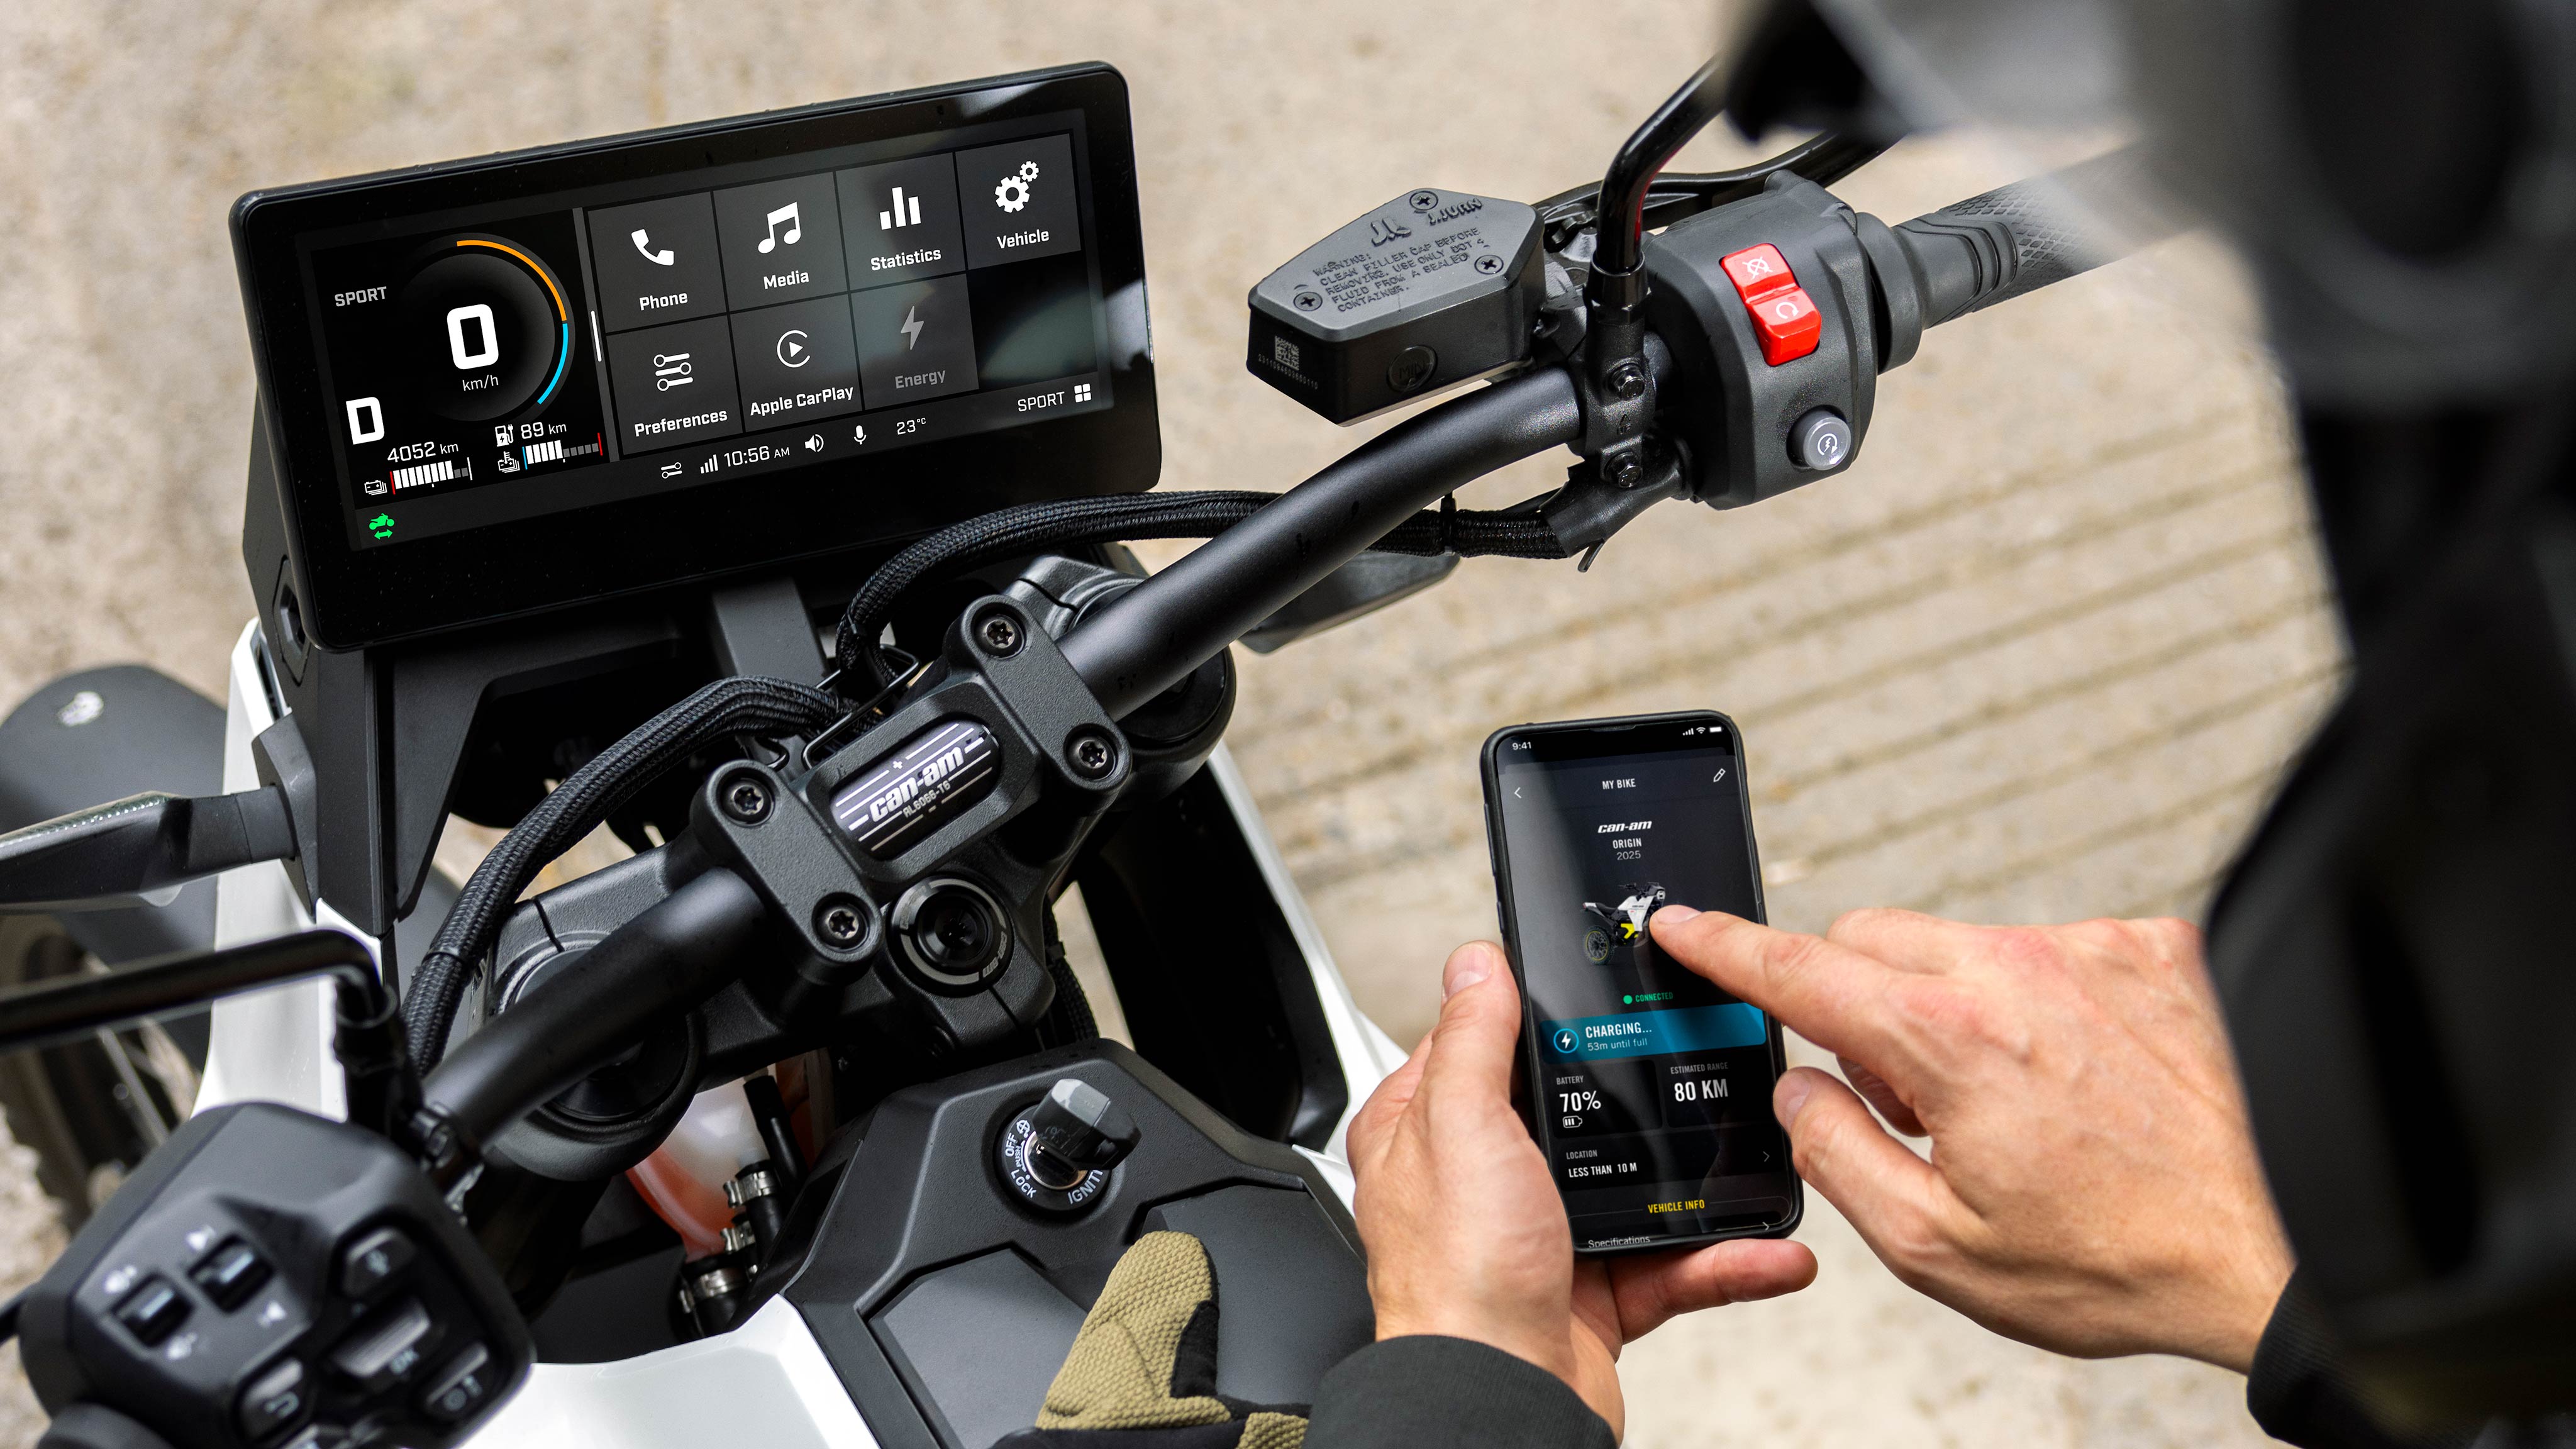
BRP GO! is your ticket to a connected on‑road riding experience. Designed for Can‑Am 3‑wheel vehicles and electric motorcycles, the BRP GO! app can be mirrored on the 10.25″ Touch Display*.

If your vehicle is equipped with the 10.25″ Touch Display, the app helps you plan road trips and urban rides, offering turn‑by‑turn navigation on public roads while allowing you to track your riding group’s location in real time.

BRP GO! enhances every outing by delivering a smarter and more connected on‑road experience.

*Available on certain models

Before You Head Out

Before going on an adventure, follow the steps below in the app to enhance your experience on public roads, whether you’re commuting, cruising through the city, or setting off on a longer road trip.

One of the key things to do is activate your navigation system to enjoy seamless, rider-focused directions and stay confident on every journey.

Prepare your Trip

Planning your routes and itineraries helps ensure you don’t miss key points of interest and allows you to anticipate fuel or charging stops during your rides. When creating an itinerary, you’ll gain access to turn‑by‑turn navigation and view the remaining ride distance. You can easily locate points of interest such as gas stations, charging stations, restaurants, and accommodations along your route.

You can also customize your ride by manually adding waypoints to the map, which will automatically connect to form a complete itinerary. When planning your route, be sure to ride on public roads or authorized routes and always respect local traffic laws and regulations. Discover our Responsible Rider program to learn more about safe on‑road riding, road sharing, and sustainable mobility practices.

How to create an itinerary

There are several ways to create an itinerary for your Can‑Am on‑road rides, whether you’re planning a daily commute, a scenic road trip, or a longer journey.

In the NAVIGATION tab

1. Press the RIDES icon on the top left (below the search bar)

2. Select CREATE ITINERARY

3. Drag the marker on the map to your desired starting point

- You can tap the Search icon to choose from an official POI, a custom POI or type in a civic address

4. Press START HERE

5. Select +STEP to add another waypoint to the itinerary

- You can tap the Search icon to choose from an official POI, a custom POI or type in a civic address

6. Press ADD TO ITINERARY

7. Repeat steps 5 & 6 above until your desired itinerary is created

8. Select NEXT

9. Scroll down a bit to reveal:

- the PATHS you can choose from to get to your destination

- the ROUTE PREFERENCES you can toggle on or off

10. Tap the 3 dots on the top right if you'd like to rename the itinerary, share it, add it to a group, or duplicate it

11. Press START to begin following the itinerary with turn-by-turn directions and distance indicators or select the arrow on the top left to save the itinerary for later
In the NAVIGATION tab

1. Select a POI on the map or create a custom POI (long press on the screen)

2. Tap SET AS START*

3. Follow steps 5 to 11 from the Main way above

*To simply head straight to this point from your current location, press LET'S RIDE then follow steps 9 to 11 from the Main way above

In the NAVIGATION tab

1. Press the search bar on top of the screen

2. Choose from an official POI, a custom POI or type in a civic address

3. Tap SET AS START*

4. Follow steps 5 to 11 from the Main way above

*To simply head straight to this point from your current location, press LET'S RIDE then follow steps 9 to 11 from the Main way above

Create and save custom locations

You can save custom locations in your BRP GO! account to keep your most important destinations easily accessible. Save your home, a friend’s place, a scenic lookout, or and other favorite spots a click away.

Your saved locations will be displayed on the map with a star icon and can easily be found by using the search bar. Suppose you find yourself halfway through your ride and decide to return to your friend’s cabin; all you need to do is choose your custom location and a route to reach your destination will appear.

1- Go to the NAVIGATION tab

2- Ensure the ON-ROAD playground is selected

3- Long press on the screen where you want to add the Point of Interest (POI) 

4- Tap SAVE PLACE

5- A pop-up will appear to name the POI

6- Tap SAVE PLACE

Track your friends’ location

Invite members of your Can‑Am riding group to share routes and keep track of each other on a live map while you’re on the road.

To connect with friends during a ride, you need to 1) add them as friends in the app and 2) invite them to join your saved rides.

The “locate friends on the map” feature works only when you’re connected to a cellular network. If one of your friends loses connection, their icon will turn grey and remain at their last recorded location. Their position will be updated once they regain connection to a cellular network.

1- Go to the GROUPS tab

2- Press + ADD FRIENDS

3- Send the generated link to your friend

4- If your friend doesn’t have BRP GO!, they will receive a notification inviting them to download the app. The invitation will be received after they download the app.

5- If they have BRP GO!, they will receive a notification

6- You might have to pull to refresh to see them in your list

Adding your friends to a group allows you to share created itineraries to all members at once and see their location on the map while you're riding*.


Create a group

1- Go to the GROUPS tab & select Groups at the top of the page

2- Press + CREATE GROUP

3- Tap the rectangle under NAME to name the group

4- Select CREATE GROUP


Add friends

5- Press Add friend

6- Select one or more friends from the list then CONFIRM

Note: You may need to pull down to refresh to see them in the group

7- Ensure all members of the group are connected by tapping CONNECT at the bottom of the screen


*This feature requires an internet connection to work


During your Ride

Take your Can‑Am on‑road experience to the next level by following these steps during your ride.

Pair your Phone

The first step is connecting BRP GO! to your Can‑Am vehicle's display.


If your Can‑Am is equipped with a 10.25″ touch display, you can connect your phone and use the BRP GO! app directly on it. Navigate seamlessly through the app using the handlebar controls or touchscreen, ensuring a fully integrated and intuitive on‑road experience.

Once you’re ready to hit the trails, connect your phone to start using BRP GO! on your display.

The connection process may vary depending on the display model equipped on your Can‑Am on‑road vehicle.

10.25" Touchscreen Display

1- Download the BRP GO! app.

2- Make sure that your phone is unlocked and that the BRP GO! app is open.

3- Connect your phone to the vehicle via a USB cable (the USB connector is located in the glovebox). Once the connection is successful, a black screen will appear.

4- Open the "Navigation" app on your vehicle display.

Please note that with the 10.25″ Touch Display there is no need to pair your phone to the vehicle via Bluetooth to use BRP GO!. Only a USB connection is required.


Start your BRP GO! ride

Ready to go? It’s time to launch your BRP GO! ride on your vehicle display. There are two ways to start a ride in BRP GO!

  • Follow a created itinerary 
  • Begin a recorded ride

1. Press the Itineraries icon from the options on the left of the display (second option from the top)

2. Select the itinerary you'd like to follow then tap START

1. Tap the RECORD RIDE button at the bottom of the display

2. After pressing the arrow at the bottom left of the display, a summary of your ride statistics and a track of where you went will be saved to your profile (RIDES > Completed)

Explore Map Options

BRP GO! offers several map options to cater to your preferences:

  • Zoom in/out: adapt your screen to your eyesight for optimal visibility.
  • Lock north up: keep your map orientation facing north, like a paper map.
  • 2D or 3D: view your surroundings with a 2D bird’s-eye view or a 3D street-level perspective.
  • Route preferences: choose to avoid tolls, highways, ferries, and unpaved road.

Use the dedicated "+" and "-" buttons to zoom in or out (accessible via the handlebar controls)

At the bottom right of the screen, click on the North compass button ("N"). To deactivate the function, click a second time on the button.

During a ride, you can press (or select via the handlebar controls) the Map Details button to the left of the "+" button to toggle "Map in 3D View" on or off

During a ride, you can press (or select via the handlebar controls) the Map Details button to the left of the "+" button to toggle various route preferences on or off


After your Ride

Your journey doesn’t have to end here. Keep your previous rides at your fingertips by reviewing your ride data or duplicating routes for future outings.

Check your riding stats 

Review your riding statistics directly in the BRP GO! app. After each ride, key data is automatically saved to your account, allowing you to track your experience over time.

Access information such as total ride time, moving time, average speed, distance traveled, and maximum and minimum altitude. These stats are available at any time since they are stored to your account.

After you recorded a ride or followed a created itinerary:

In the NAVIGATION tab

1. Press the RIDES icon on the top left (below the search bar)

2. Select Completed.

1- In the RIDES section, select Completed (ensure you are in the ON-ROAD playground)

2- Press the 3 circles icon on the top right of a ride

3- Choose Ride again

The track (blue line) showing where you went on that ride will appear on the map for you to follow

Should you have any remaining questions regarding the features available on BRP GO!, please refer to our FAQ page.

More articles about our connected technologies

  • How to update the software on the Can-Am Spyder, Canyon, Pulse or Origin touchscreen display

    How to update the software on the Can-Am Spyder, Canyon, Pulse or Origin touchscreen display


    Here's how you can update your Can-Am Spyder, Canyon, Pulse or Origin. 10.25” touchscreen display software in order to benefit from the newest features.

    Learn More
  • How to connect the BRP GO! app to your electric motorcycle

    How to connect the BRP GO! app to your electric motorcycle


    Consult vehicle information right from your phone.

    Learn More